
Watch Rocket Lab’s first launch of 2020 take an NRO payload to orbit

Rocket Lab’s first mission of the year, and 11th commercial flight overall, is planned to take off this afternoon from New Zealand and bring a payload from the National Reconnaissance Office to orbit. You can watch the launch, “Birds of a Feather,” right here.

The mission, which was only announced 10 days ago, is also known as NROL-151, and was awarded under a new NRO effort to “explore what the tiny rocket marketplace can provide for us,” as director Betty Sapp put it in 2018, at the outset of the agency’s Rapid Acquisition of a Small Rocket program.

Though Rocket Lab may dispute that its rocket is “tiny” (Sapp also said at the time that many companies took issue with the phrase), it’s definitely smaller than many launch vehicles that the NRO is accustomed to.

It has relied in the past on large geostationary satellites, but cheap access to lower orbit is clearly a trend worth taking advantage of.

“As the industry shifts toward the disaggregation of large, geostationary spacecraft, Electron enables unprecedented access to space to support a resilient layer of government small satellite infrastructure,” said Rocket Lab SVP of global launch services Lars Hoffman said in the mission announcement.

Incidentally, the mission patches for each participant are quite charming and weird:

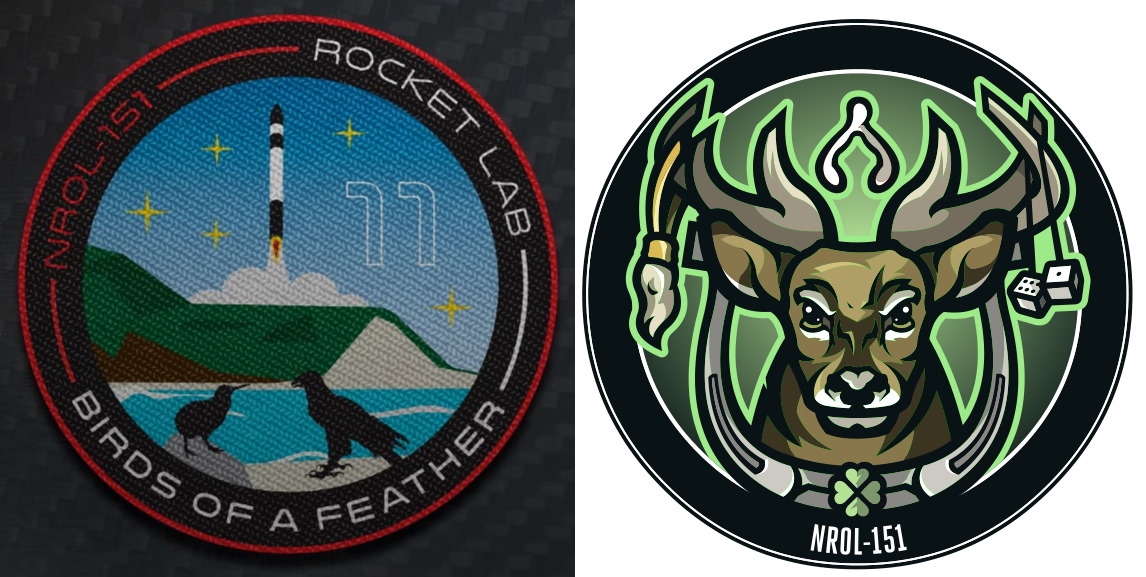
The launch will be an ordinary one by Rocket Lab standards, though the Electron first stage will attempt to accomplish a guided reentry, monitored by a chase plane. This is preliminary to attempting a full guided return and controlled landing, which only SpaceX has been able to pull off so far — but which is also going to be an essential method for lowering launch costs.

“Birds of a Feather” will be streamed live starting about 20 minutes before launch; You can watch it below.


from TechCrunch https://ift.tt/3aST8y1

Comments

Popular posts from this blog

How To Play Doom – And More – On An NES

Doom was a breakthrough game for its time, and became so popular that now it’s essentially the “Banana For Scale” of hardware hacking. Doom has been ported to countless devices, most of which have enough processing ability to run the game natively. Recently, this lineup of Doom-compatible devices expanded to include the NES even though the system definitely doesn’t have enough capability to run it without special help. And if you want your own Doom NES cartridge, this video will show you how to build it . We featured the original build from [TheRasteri] a while back which goes into details about how it’s possible to run such a resource-intensive game on a comparatively weak system. You just have to enter the cheat code “RASPI”. After all the heavy lifting is done, it’s time to put it into a realistic-looking cartridge. To get everything to fit in the donor cartridge, first the ICs in the cartridge were removed (except the lockout IC) and replaced with custom ROM chips. Some modifica...

The Flexible Permanence of Copper Tape Circuits

Somewhere between shoving components into a breadboard temporarily and committing them to a piece of protoboard or a PCB lies the copper tape method. This flexible Manhattan-style method of circuitry formed the basis for [Bunnie Huang]’s Chibitronics startup, and has since inspired many to stop etching boards and start fetching hoards of copper tape. [Hales] hit the ground running when he learned about this method , and has made many a copper tape circuit in the last year or so. He offers several nice tips on his site that speak from experience with this method, and he’ll even show you how to easily work an SMD breakout board into the mix. Generally speaking, [Hales] prefers plywood as the substrate to paper or cardboard for durability. He starts by drawing out the circuit and planning where all the tape traces will go and how wide they need to be. Then he lays out copper traces and pads, rubs the tape against the substrate to make it adhere strongly, and reinforces joints and laps w...

The Newbie’s Guide To JTAG

Do you even snarf? If not, it might be because you haven’t mastered the basics of JTAG and learned how to dump, or snarf, the firmware of an embedded device. This JTAG primer will get you up to snuff on snarfing, and help you build your reverse engineering skills. Whatever your motivation for diving into reverse engineering devices with microcontrollers, JTAG skills are a must, and [Sergio Prado]’s guide will get you going. He starts with a description and brief history of the Joint Test Action Group interface, from its humble beginnings as a PCB testing standard to the de facto standard for testing, debugging, and flashing firmware onto devices. He covers how to locate the JTAG pads – even when they’ve been purposely obfuscated – including the use of brute-force tools like the JTAGulator . Once you’ve got a connection, his tutorial helps you find the firmware in flash memory and snarf it up to a file for inspection, modification, or whatever else you have planned. We always apprec...