Over the last couple of years, we’ve seen more and more hackers building their own custom computers. We’re not just talking casemods here; enabled by advancements in desktop 3D printing and increasingly powerful boards such as the Raspberry Pi 4, these are machines designed and built from the ground up to meet the creator’s particular set of needs and desires.
A perfect example of this trend is the Rasptop 2.0, a remarkably practical design for a 3D printed miniature laptop. Despite the name, you don’t even need to use the Raspberry Pi if you don’t want to. Creator [Morgan Lowe] has designed the Rasptop to take other single board computers (SBCs) such as the Asus Tinker Board or even the Intel Atom powered Up Board. So whether you want an energy efficient ARM machine running Linux for development, or a mobile Windows box for on the go gaming, you can use the same printed parts.
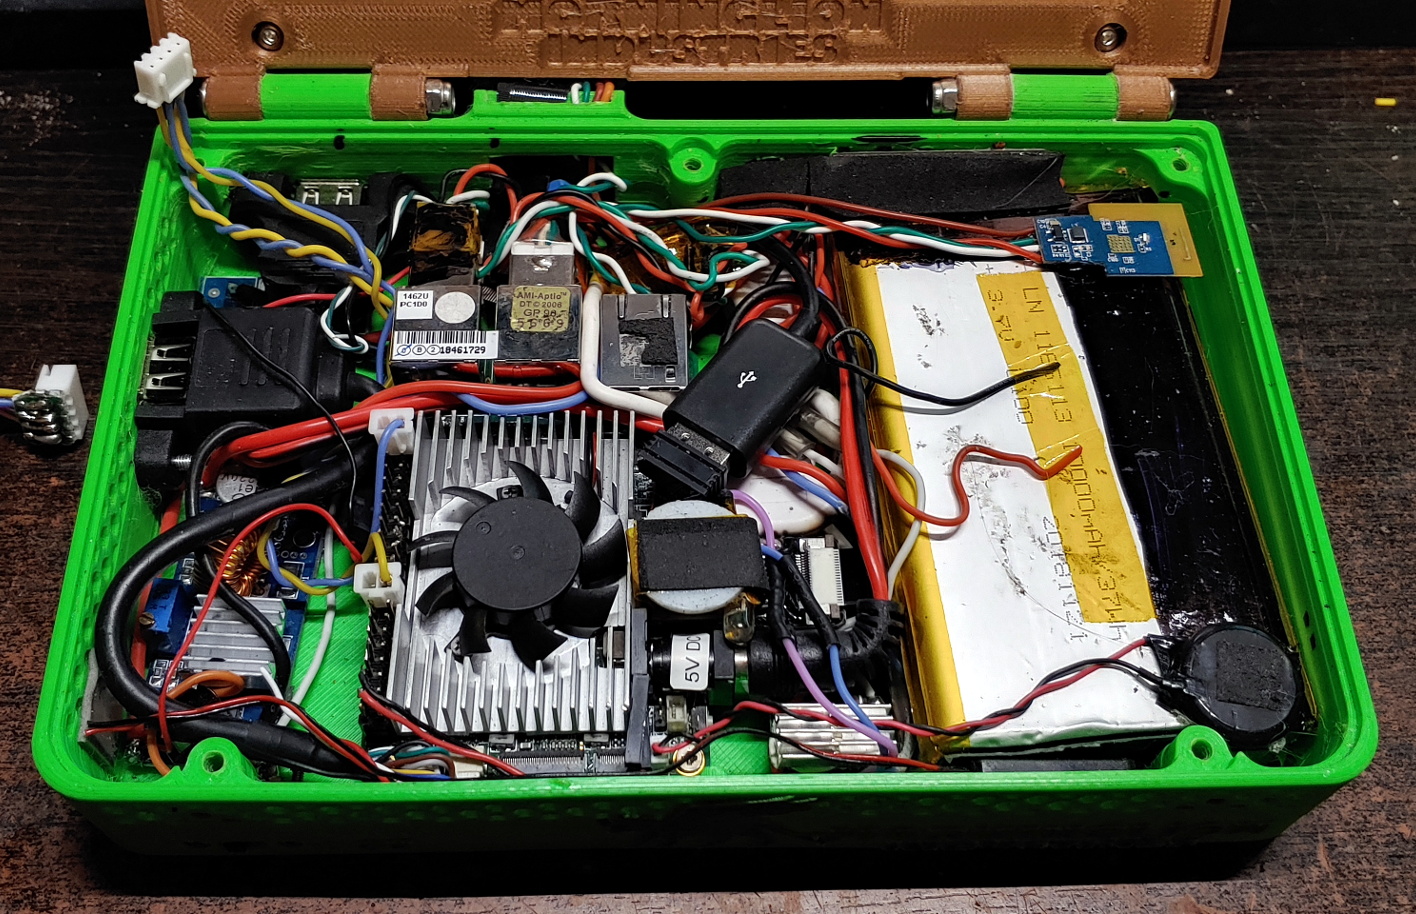 At the most basic level, the Rasptop 2.0 is just a hollow box with a hinged compartment for a screen mounted on top. You’re free to equip it with whatever hardware you chose. If you’re after maximum runtime you could fill all the free space with batteries, or maybe install multiple hard drives if you’re a data horder in need of a mobile terminal. Even the various SBCs that [Morgan] has tested are really just suggestions. The choice is yours.
Perhaps also our favorite feature of the Rasptop is how he worked a keyboard into the design. Rather than just leaving a big rectangle in the STL for you to shove a mobile keyboard into, the top surface is designed to mount the PCB and membrane keypad of one of those mini wireless keyboards you see on all the import sites. Aside from the fact it’s a good deal chunkier than what we expect from modern mobile devices, it has a very finished and professional overall look.
Of course if you’d rather use all these powerful tools to build a computer that’s somewhat farther off the beaten track, your design could abandon the traditional computer form factors altogether.
from Hackaday https://ift.tt/2O48pSY
Comments
Post a Comment