
NASA finds real uses for VR and AR in astronomy and engineering

Years after the advent of decent VR hardware, there are still precious few ways the technology has been employed as anything other than a game or gimmick. One team at NASA, however, has been assembling useful science and engineering applications, with promising and unique results.

Studying the astronomical number of stars in our galaxy is generally done using legacy tools, scattered databases, perhaps even paper and pencil. And as such it can be hard to use that great multi-purpose pattern recognition engine, the human brain, to full effect on the information.

Tom Grubb, an engineer at NASA’s Goddard Space Flight Center, has felt for years that VR and AR are valuable tools for exploring and working with this type of data, and his team has just presented its first paper directly resulting from using those technologies.

He and his colleagues used a VR environment to examine an animated stellar neighborhood, and arrived at a novel classification for a star group other astronomers disagreed on. Being able to intuitively observe the stars’ paths and positions in a three-dimensional space provided the key insight.

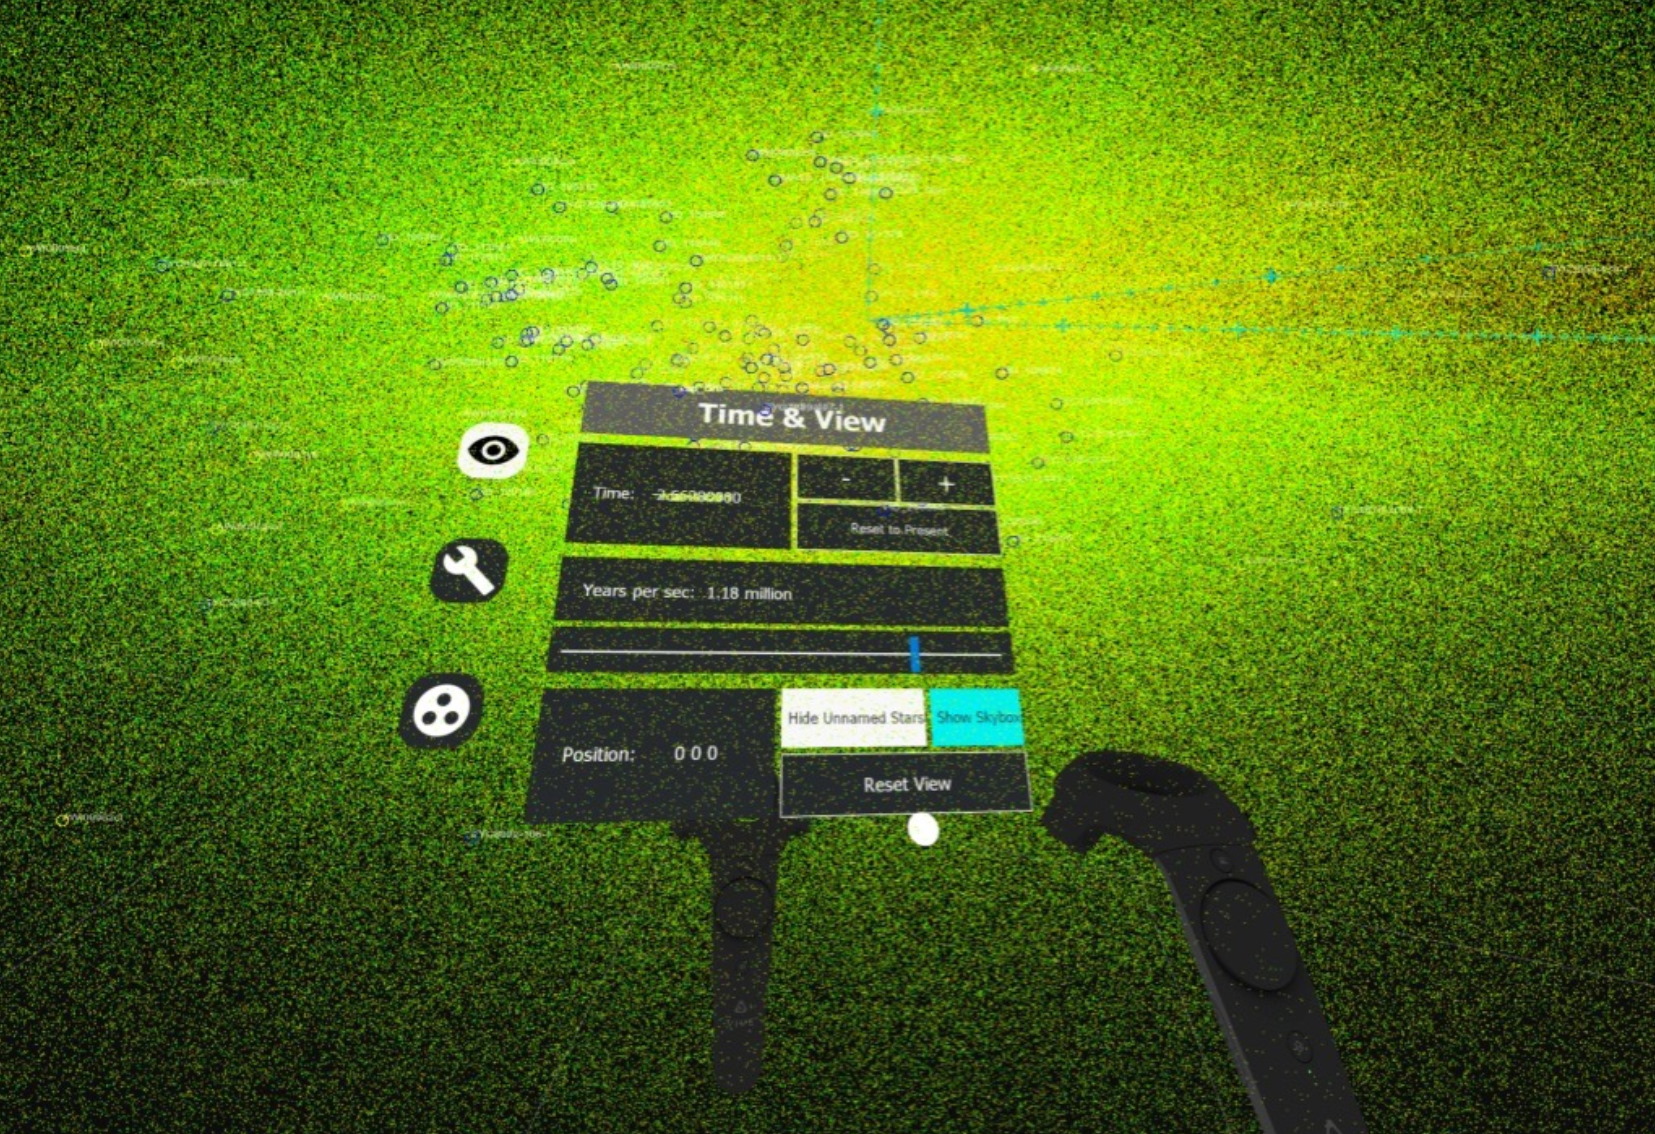
An example of star data displayed in PointCloudsVR

“Planetariums are uploading all the databases they can get their hands on and they take people through the cosmos,” said astronomer Marc Kuchner in a NASA news post. “Well, I’m not going to build a planetarium in my office, but I can put on a headset and I’m there.”

Grubb and the team have created a number of software projects to help bring not just astronomical databases, but engineering work into VR. Just as heavy industry is learning to incorporate VR and AR into their safety, maintenance and training routines, NASA is looking into it in engineering and cross-site collaboration.

Part of that is just establishing basic tools for viewing and manipulating the data.

“The hardware is here; the support is here. The software is lagging, as well as conventions on how to interact with the virtual world,” Grubb explained. “You don’t have simple conventions like pinch and zoom or how every mouse works the same when you right click or left click.”

But once you have people in a virtual environment looking at a 3D star map or representation of a probe’s interior, there are new opportunities to be discovered.

“We’ll be in the same environment and when we point at or manipulate something in the environment, they’ll be able to see that,” Grubb said. “You still have to build mockups, but you can work out a lot of the iterations before you move to the physical model. It’s not really sexy to the average person to talk about cable routing, but to an engineer, being able to do that in a virtual environment and know how much cabling you need and what the route looks like, that’s very exciting.”

The work is ongoing and the paper describing the team’s first astronomy results should be published soon. And of course the work they do is often released publicly, for example the PointCloudsVR tool they use to review star and lidar data — you can download it all on GitHub.


from TechCrunch https://ift.tt/2RZMOMv

Comments

Popular posts from this blog

How To Play Doom – And More – On An NES

Doom was a breakthrough game for its time, and became so popular that now it’s essentially the “Banana For Scale” of hardware hacking. Doom has been ported to countless devices, most of which have enough processing ability to run the game natively. Recently, this lineup of Doom-compatible devices expanded to include the NES even though the system definitely doesn’t have enough capability to run it without special help. And if you want your own Doom NES cartridge, this video will show you how to build it . We featured the original build from [TheRasteri] a while back which goes into details about how it’s possible to run such a resource-intensive game on a comparatively weak system. You just have to enter the cheat code “RASPI”. After all the heavy lifting is done, it’s time to put it into a realistic-looking cartridge. To get everything to fit in the donor cartridge, first the ICs in the cartridge were removed (except the lockout IC) and replaced with custom ROM chips. Some modifica...

The Flexible Permanence of Copper Tape Circuits

Somewhere between shoving components into a breadboard temporarily and committing them to a piece of protoboard or a PCB lies the copper tape method. This flexible Manhattan-style method of circuitry formed the basis for [Bunnie Huang]’s Chibitronics startup, and has since inspired many to stop etching boards and start fetching hoards of copper tape. [Hales] hit the ground running when he learned about this method , and has made many a copper tape circuit in the last year or so. He offers several nice tips on his site that speak from experience with this method, and he’ll even show you how to easily work an SMD breakout board into the mix. Generally speaking, [Hales] prefers plywood as the substrate to paper or cardboard for durability. He starts by drawing out the circuit and planning where all the tape traces will go and how wide they need to be. Then he lays out copper traces and pads, rubs the tape against the substrate to make it adhere strongly, and reinforces joints and laps w...

The Newbie’s Guide To JTAG

Do you even snarf? If not, it might be because you haven’t mastered the basics of JTAG and learned how to dump, or snarf, the firmware of an embedded device. This JTAG primer will get you up to snuff on snarfing, and help you build your reverse engineering skills. Whatever your motivation for diving into reverse engineering devices with microcontrollers, JTAG skills are a must, and [Sergio Prado]’s guide will get you going. He starts with a description and brief history of the Joint Test Action Group interface, from its humble beginnings as a PCB testing standard to the de facto standard for testing, debugging, and flashing firmware onto devices. He covers how to locate the JTAG pads – even when they’ve been purposely obfuscated – including the use of brute-force tools like the JTAGulator . Once you’ve got a connection, his tutorial helps you find the firmware in flash memory and snarf it up to a file for inspection, modification, or whatever else you have planned. We always apprec...