
VGA Signal in a Browser Window, Thanks to Reverse Engineering

Epiphan VGA2USB LR VGA-to-USB devices

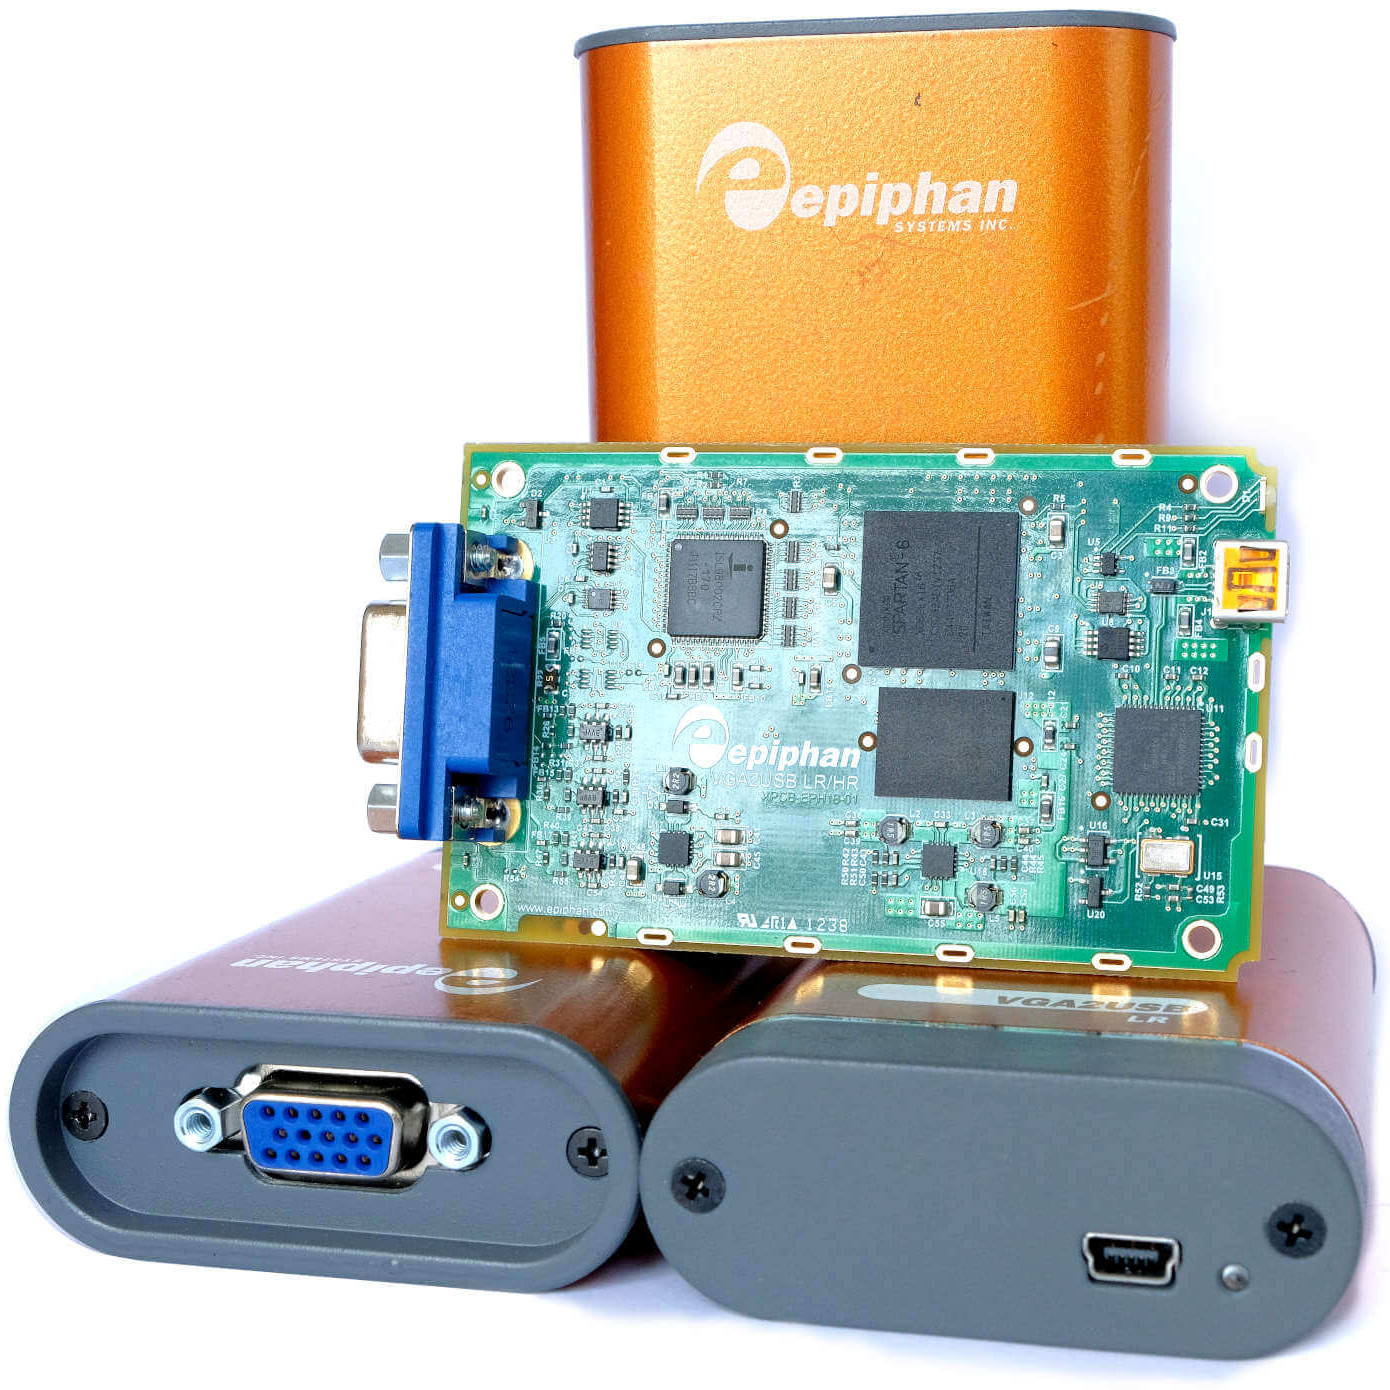
[Ben Cox] found some interesting USB devices on eBay. The Epiphan VGA2USB LR accepts VGA video on one end and presents it as a USB webcam-like video signal on the other. Never have to haul a VGA monitor out again? Sounds good to us! The devices are old and abandoned hardware, but they do claim Linux support, so one BUY button mash later and [Ben] was waiting patiently for them in the mail.

But when they did arrive, the devices didn’t enumerate as a USB UVC video device as expected. The vendor has a custom driver, support for which ended in Linux 4.9 — meaning none of [Ben]’s machines would run it. By now [Ben] was curious about how all this worked and began digging, aiming to create a userspace driver for the device. He was successful, and with his usual detail [Ben] explains not only the process he followed to troubleshoot the problem but also how these devices (and his driver) work. Skip to the end of the project page for the summary, but the whole thing is worth a read.

The resulting driver is not optimized, but will do about 7 fps. [Ben] even rigged up a small web server inside the driver to present a simple interface for the video in a pinch. It can even record its output to a video file, which is awfully handy. The code is available on his GitHub repository, so give it a look and maybe head to eBay for a bit of bargain-hunting of your own.


from Hackaday https://ift.tt/2Qz3ObE

Comments

Popular posts from this blog

How To Play Doom – And More – On An NES

Doom was a breakthrough game for its time, and became so popular that now it’s essentially the “Banana For Scale” of hardware hacking. Doom has been ported to countless devices, most of which have enough processing ability to run the game natively. Recently, this lineup of Doom-compatible devices expanded to include the NES even though the system definitely doesn’t have enough capability to run it without special help. And if you want your own Doom NES cartridge, this video will show you how to build it . We featured the original build from [TheRasteri] a while back which goes into details about how it’s possible to run such a resource-intensive game on a comparatively weak system. You just have to enter the cheat code “RASPI”. After all the heavy lifting is done, it’s time to put it into a realistic-looking cartridge. To get everything to fit in the donor cartridge, first the ICs in the cartridge were removed (except the lockout IC) and replaced with custom ROM chips. Some modifica...

The Flexible Permanence of Copper Tape Circuits

Somewhere between shoving components into a breadboard temporarily and committing them to a piece of protoboard or a PCB lies the copper tape method. This flexible Manhattan-style method of circuitry formed the basis for [Bunnie Huang]’s Chibitronics startup, and has since inspired many to stop etching boards and start fetching hoards of copper tape. [Hales] hit the ground running when he learned about this method , and has made many a copper tape circuit in the last year or so. He offers several nice tips on his site that speak from experience with this method, and he’ll even show you how to easily work an SMD breakout board into the mix. Generally speaking, [Hales] prefers plywood as the substrate to paper or cardboard for durability. He starts by drawing out the circuit and planning where all the tape traces will go and how wide they need to be. Then he lays out copper traces and pads, rubs the tape against the substrate to make it adhere strongly, and reinforces joints and laps w...

The Newbie’s Guide To JTAG

Do you even snarf? If not, it might be because you haven’t mastered the basics of JTAG and learned how to dump, or snarf, the firmware of an embedded device. This JTAG primer will get you up to snuff on snarfing, and help you build your reverse engineering skills. Whatever your motivation for diving into reverse engineering devices with microcontrollers, JTAG skills are a must, and [Sergio Prado]’s guide will get you going. He starts with a description and brief history of the Joint Test Action Group interface, from its humble beginnings as a PCB testing standard to the de facto standard for testing, debugging, and flashing firmware onto devices. He covers how to locate the JTAG pads – even when they’ve been purposely obfuscated – including the use of brute-force tools like the JTAGulator . Once you’ve got a connection, his tutorial helps you find the firmware in flash memory and snarf it up to a file for inspection, modification, or whatever else you have planned. We always apprec...