
Subterranean Uses for LIDAR: Cave Surveys

LIDAR has gained much popularity as a means for self-driving cars to survey the space around them. At their most basic, LIDAR is a surveying method that uses lasers to paints the space around the sensors and assembles the distances measured from reflected light into a digital three-dimensional representation. That’s something that has quite a number of other applications, from surveying ancient ruins and rainforests from a bird’s eye view to developing 3D models of indoor spaces.

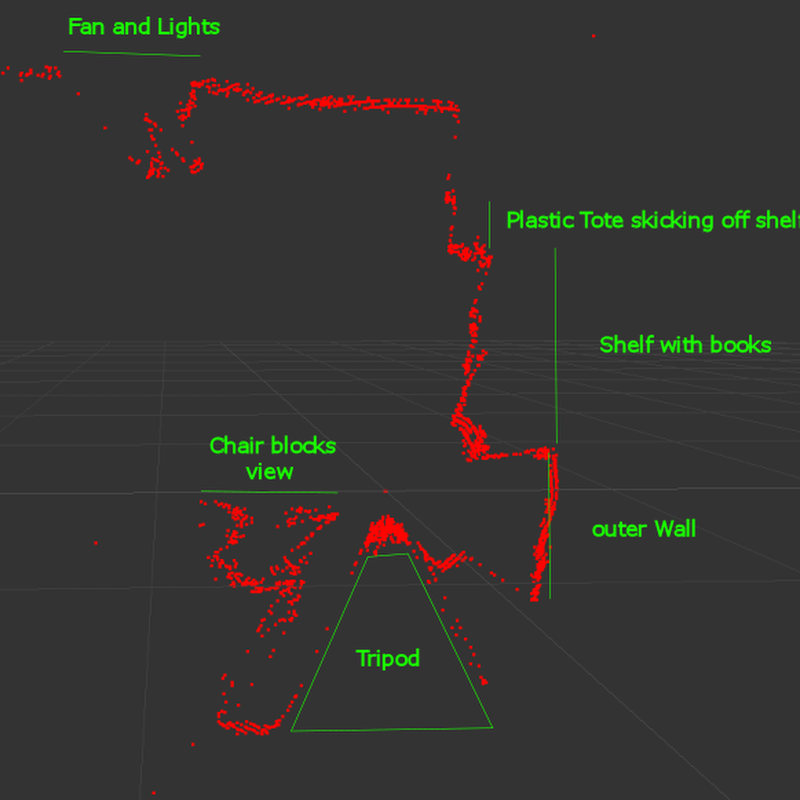
One fascinating use of LIDAR technology is to map out the routes inside caves, subterranean spaces that are seldom accessed by humans apart from those with specialized equipment and knowledge of how to safely traverse the underground terrain. [caver.adam] has been working on his Open LIDAR project for a few years using an SF30-B High Speed Rangefinder and laser device for a dual-system atop a gimbal with stepper motors for cave scanning.

Originally an entry in the 2016 Hackaday Prize, [Adam] has continued to work on the project. The result shown in the video below is a cheaper 3D LIDAR setup that works by rotating the laser distance module on 2 axes with a sensor centered at the center of rotation. It works for volumetric calculations, detects change over time, and identifies various water patterns and rocks on a surface map. Compared to notebooks, tape measures, and compasses, it’s certainly a step up in cave surveying technology.

Check out some other past underground surveying projects, such as Iowa City’s beer caves scanning projects and National Geographic’s 2014 expedition of the Titan Chamber in southern Guizhou Province in China.


from Hackaday https://ift.tt/39p8aL9

Comments

Popular posts from this blog

How To Play Doom – And More – On An NES

Doom was a breakthrough game for its time, and became so popular that now it’s essentially the “Banana For Scale” of hardware hacking. Doom has been ported to countless devices, most of which have enough processing ability to run the game natively. Recently, this lineup of Doom-compatible devices expanded to include the NES even though the system definitely doesn’t have enough capability to run it without special help. And if you want your own Doom NES cartridge, this video will show you how to build it . We featured the original build from [TheRasteri] a while back which goes into details about how it’s possible to run such a resource-intensive game on a comparatively weak system. You just have to enter the cheat code “RASPI”. After all the heavy lifting is done, it’s time to put it into a realistic-looking cartridge. To get everything to fit in the donor cartridge, first the ICs in the cartridge were removed (except the lockout IC) and replaced with custom ROM chips. Some modifica...

The Flexible Permanence of Copper Tape Circuits

Somewhere between shoving components into a breadboard temporarily and committing them to a piece of protoboard or a PCB lies the copper tape method. This flexible Manhattan-style method of circuitry formed the basis for [Bunnie Huang]’s Chibitronics startup, and has since inspired many to stop etching boards and start fetching hoards of copper tape. [Hales] hit the ground running when he learned about this method , and has made many a copper tape circuit in the last year or so. He offers several nice tips on his site that speak from experience with this method, and he’ll even show you how to easily work an SMD breakout board into the mix. Generally speaking, [Hales] prefers plywood as the substrate to paper or cardboard for durability. He starts by drawing out the circuit and planning where all the tape traces will go and how wide they need to be. Then he lays out copper traces and pads, rubs the tape against the substrate to make it adhere strongly, and reinforces joints and laps w...

The Newbie’s Guide To JTAG

Do you even snarf? If not, it might be because you haven’t mastered the basics of JTAG and learned how to dump, or snarf, the firmware of an embedded device. This JTAG primer will get you up to snuff on snarfing, and help you build your reverse engineering skills. Whatever your motivation for diving into reverse engineering devices with microcontrollers, JTAG skills are a must, and [Sergio Prado]’s guide will get you going. He starts with a description and brief history of the Joint Test Action Group interface, from its humble beginnings as a PCB testing standard to the de facto standard for testing, debugging, and flashing firmware onto devices. He covers how to locate the JTAG pads – even when they’ve been purposely obfuscated – including the use of brute-force tools like the JTAGulator . Once you’ve got a connection, his tutorial helps you find the firmware in flash memory and snarf it up to a file for inspection, modification, or whatever else you have planned. We always apprec...