
You’ve Got Mail?

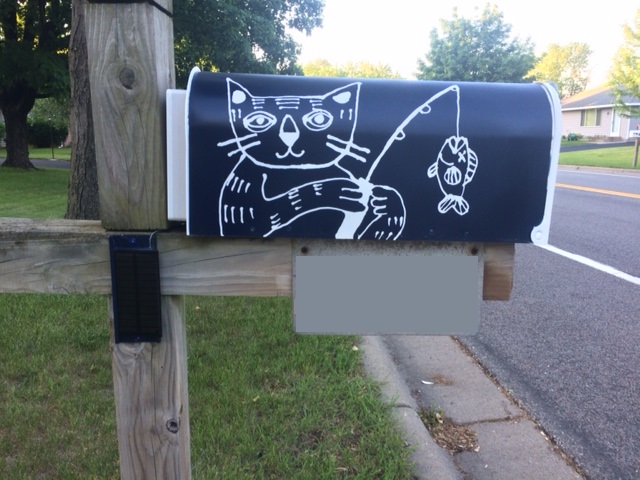
Life is full of tough decisions, such as deciding whether you want to go to the end of the drive to check if the mail has arrived. These questions are made even more arduous in the winter months, but [Catpin] has a solution. The Mail Box Alert uses an Electric Imp, a solar panel and a proximity sensor to let you know if you’ve got mail.

It’s a neat build, with the brains provided by that Electric Imp which handles most of the heavy lifting. This wakes up every five minutes and checks whether the status of a small proximity sensor has changed. If it has, it pings a website. The unit sits at the bottom of the postbox, so if your friendly neighborhood post person has put in any letters, it will have changed. The Imp is powered by a small battery, which is in turn charged by a solar panel. That means that it doesn’t require any power cables or other wiring, as long as it is in the range of WiFi. With the addition of a 15-hours overnight deep sleep, [Catpin] found that the whole thing could be run from a couple of 18650 LiPo batteries.

Perhaps the most interesting part of the writeup was discussing the problems that he found with the build, such as the fact that a LiPo battery won’t perform that well in a Wisconsin winter. So, this was replaced with a Lithium Iron Phosphate battery that should be a bit more tolerant of the chill. There is also a writeup on how to create the same project using an ESP8266 if required.


from Hackaday https://ift.tt/2DyJcKF

Comments

Popular posts from this blog

How To Play Doom – And More – On An NES

Doom was a breakthrough game for its time, and became so popular that now it’s essentially the “Banana For Scale” of hardware hacking. Doom has been ported to countless devices, most of which have enough processing ability to run the game natively. Recently, this lineup of Doom-compatible devices expanded to include the NES even though the system definitely doesn’t have enough capability to run it without special help. And if you want your own Doom NES cartridge, this video will show you how to build it . We featured the original build from [TheRasteri] a while back which goes into details about how it’s possible to run such a resource-intensive game on a comparatively weak system. You just have to enter the cheat code “RASPI”. After all the heavy lifting is done, it’s time to put it into a realistic-looking cartridge. To get everything to fit in the donor cartridge, first the ICs in the cartridge were removed (except the lockout IC) and replaced with custom ROM chips. Some modifica...

The Flexible Permanence of Copper Tape Circuits

Somewhere between shoving components into a breadboard temporarily and committing them to a piece of protoboard or a PCB lies the copper tape method. This flexible Manhattan-style method of circuitry formed the basis for [Bunnie Huang]’s Chibitronics startup, and has since inspired many to stop etching boards and start fetching hoards of copper tape. [Hales] hit the ground running when he learned about this method , and has made many a copper tape circuit in the last year or so. He offers several nice tips on his site that speak from experience with this method, and he’ll even show you how to easily work an SMD breakout board into the mix. Generally speaking, [Hales] prefers plywood as the substrate to paper or cardboard for durability. He starts by drawing out the circuit and planning where all the tape traces will go and how wide they need to be. Then he lays out copper traces and pads, rubs the tape against the substrate to make it adhere strongly, and reinforces joints and laps w...

The Newbie’s Guide To JTAG

Do you even snarf? If not, it might be because you haven’t mastered the basics of JTAG and learned how to dump, or snarf, the firmware of an embedded device. This JTAG primer will get you up to snuff on snarfing, and help you build your reverse engineering skills. Whatever your motivation for diving into reverse engineering devices with microcontrollers, JTAG skills are a must, and [Sergio Prado]’s guide will get you going. He starts with a description and brief history of the Joint Test Action Group interface, from its humble beginnings as a PCB testing standard to the de facto standard for testing, debugging, and flashing firmware onto devices. He covers how to locate the JTAG pads – even when they’ve been purposely obfuscated – including the use of brute-force tools like the JTAGulator . Once you’ve got a connection, his tutorial helps you find the firmware in flash memory and snarf it up to a file for inspection, modification, or whatever else you have planned. We always apprec...