
Bunq launches metal card and plants a tree for every €100 spent

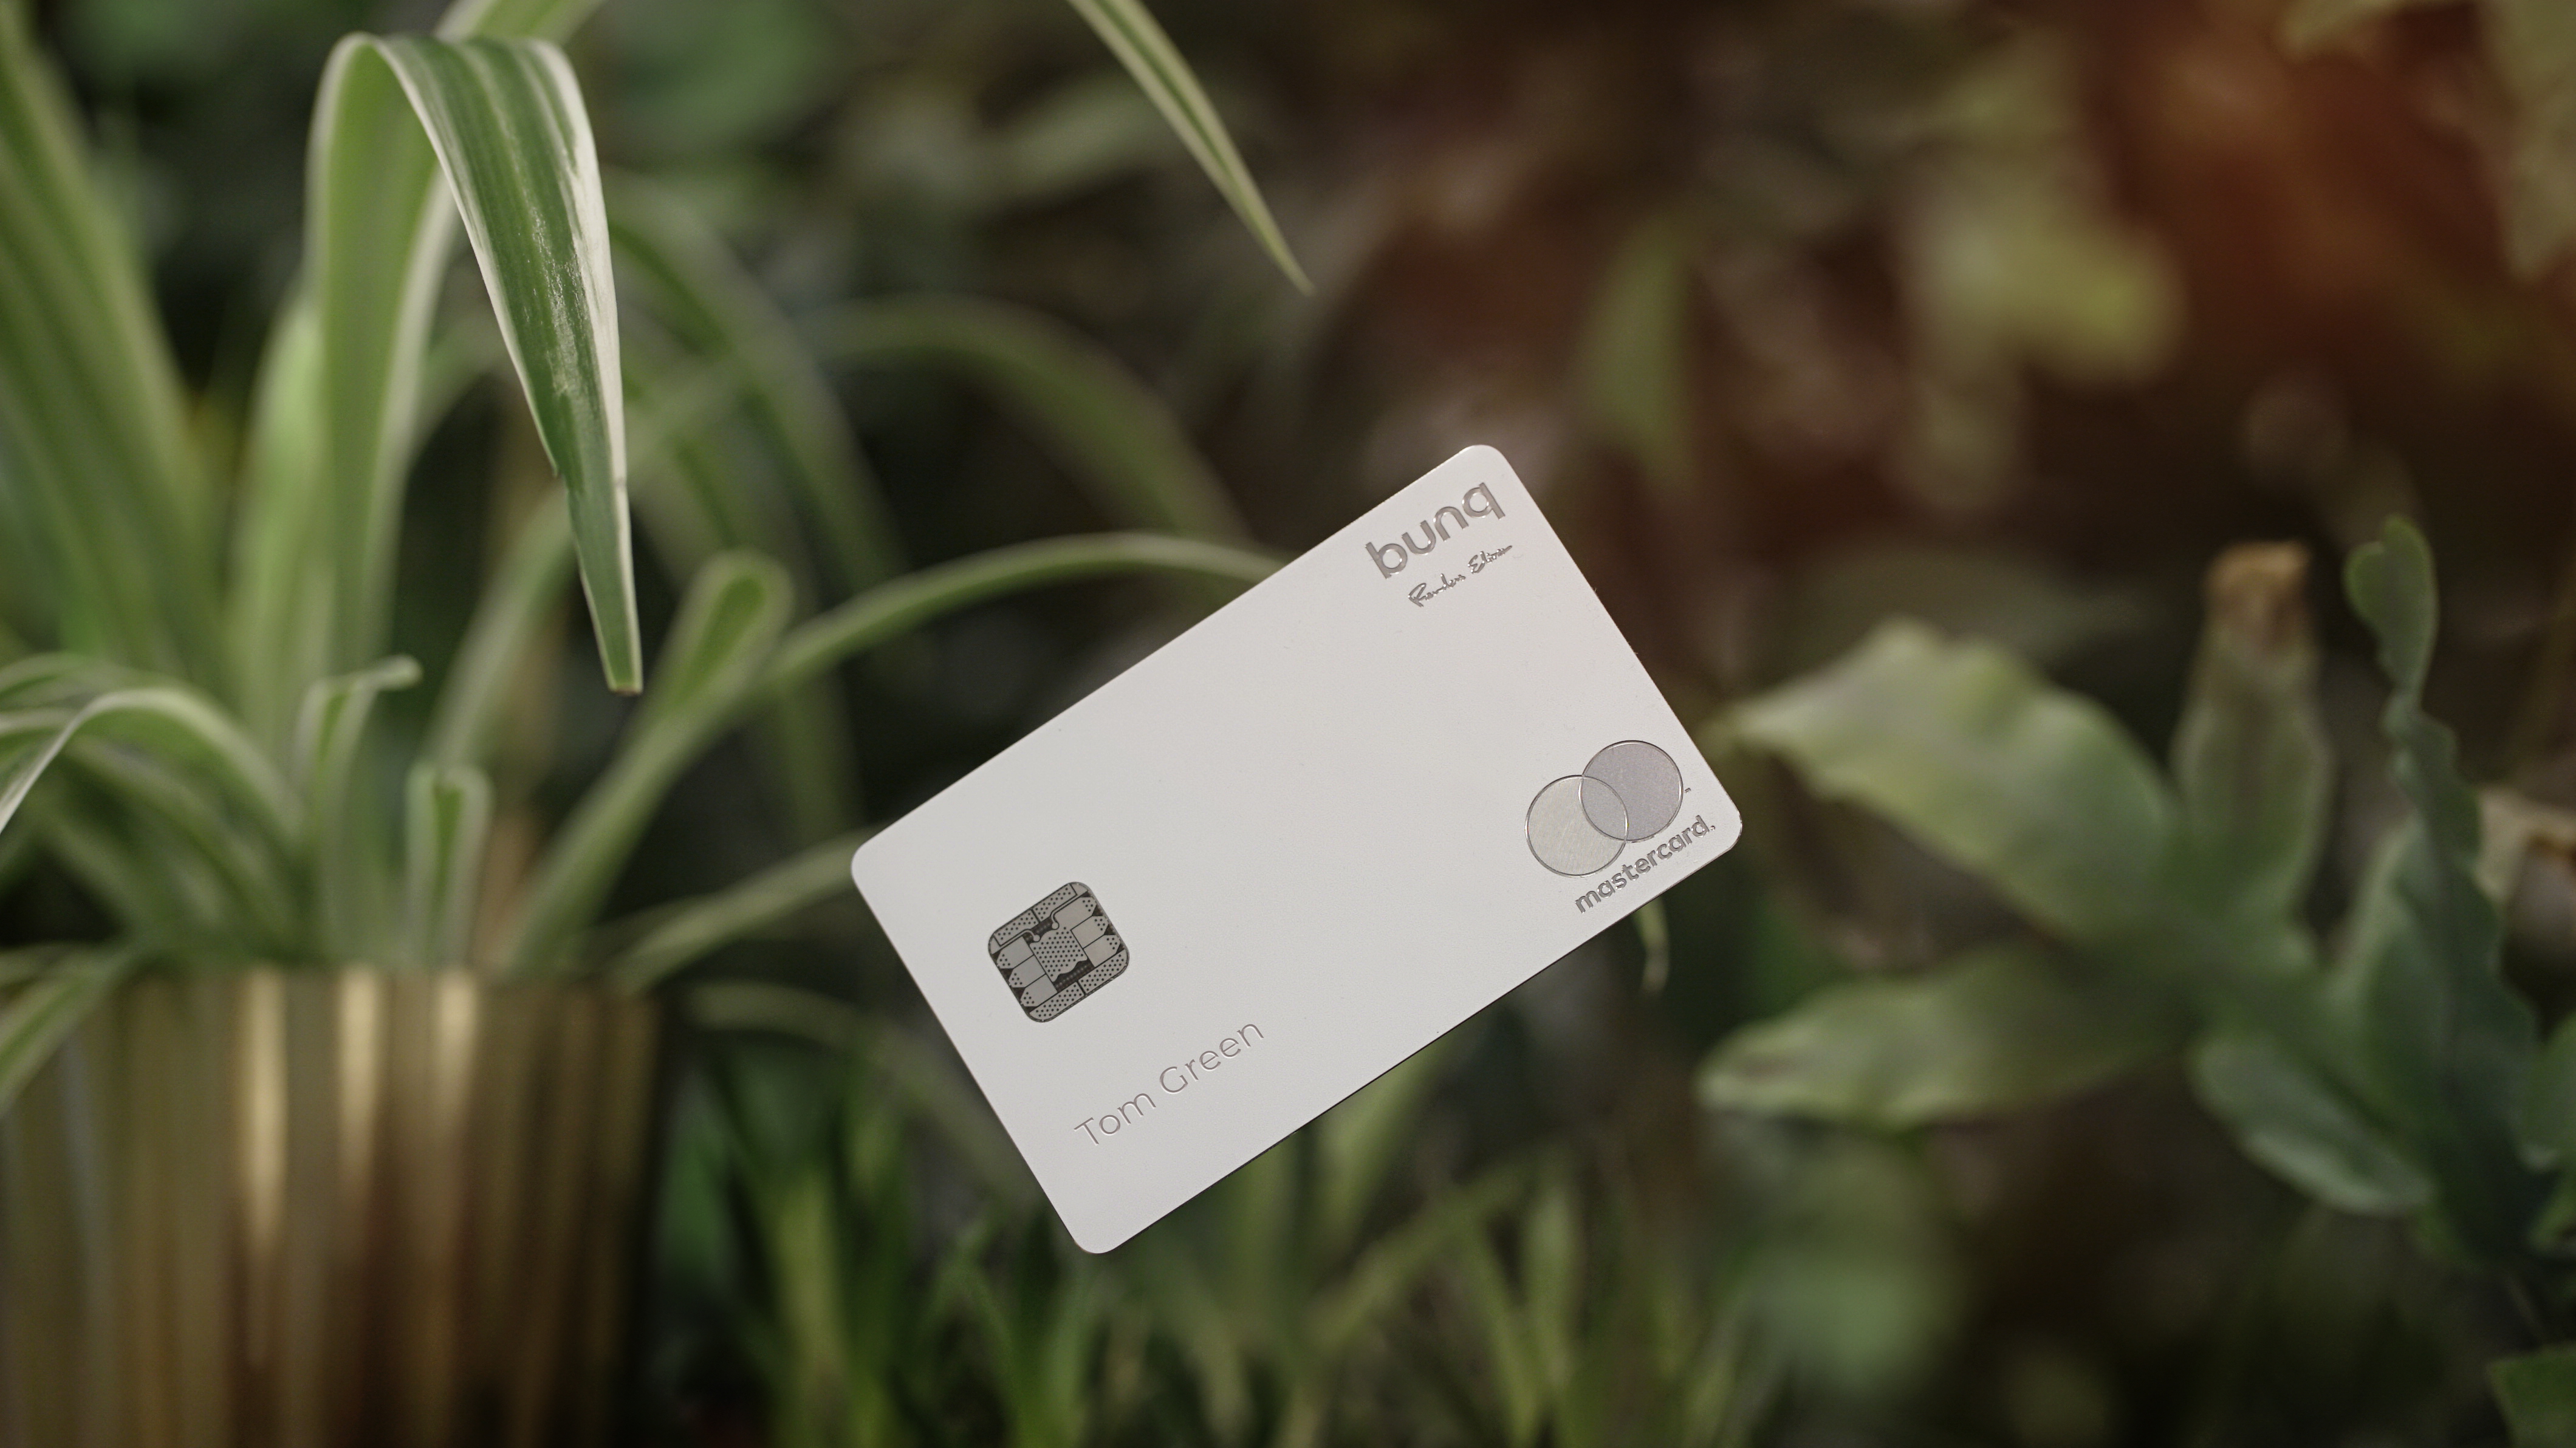
Fintech startup Bunq is launching a metal card called the Green Card. While some banks offer a cashback program with premium cards, Bunq is offering a special kind of “cashback”. For every €100 spent, Bunq plants a tree. The company has partnered with Eden Reforestation Projects to finance reforestation around the globe.

Manufacturing a metal card isn’t particularly environmentally friendly. That’s why the Green Card expires after six years instead of four years. It is also made of recyclable material (even though I’m not sure it’s that easy to recycle a metal card with a chip, a magnetic stripe and an NFC antenna after it expires).

Other than that, the Green Card works more or less like the Travel Card. While Bunq offers traditional bank accounts, you can order a Travel Card or a Green Card and keep your existing bank.

The Green Card is a Mastercard without any foreign exchange fee. The company uses the standard Mastercard exchange rate but doesn’t add any markup fee.

While the Green Card is a credit card, it doesn’t work like normal credit cards. You don’t get a direct debit on your bank account. Instead, you have to open the Bunq app and top up your Bunq account — topping up your account with another card may incur some fees, more details here. If you don’t have enough money on your account, the transaction gets rejected like a debit card.

The Travel Card costs €9.99 to order the card. There’s no monthly fee after that. The Green Card costs €99 per year. Bunq charges €0.99 per ATM withdrawal but you get 10 free withdrawals with the Green Card.

The company is selling a limited edition today with “Founders Edition” engraved in the top right corner but the first batch is nearly sold out:


from TechCrunch https://ift.tt/2L004Oy

Comments

Popular posts from this blog

How To Play Doom – And More – On An NES

Doom was a breakthrough game for its time, and became so popular that now it’s essentially the “Banana For Scale” of hardware hacking. Doom has been ported to countless devices, most of which have enough processing ability to run the game natively. Recently, this lineup of Doom-compatible devices expanded to include the NES even though the system definitely doesn’t have enough capability to run it without special help. And if you want your own Doom NES cartridge, this video will show you how to build it . We featured the original build from [TheRasteri] a while back which goes into details about how it’s possible to run such a resource-intensive game on a comparatively weak system. You just have to enter the cheat code “RASPI”. After all the heavy lifting is done, it’s time to put it into a realistic-looking cartridge. To get everything to fit in the donor cartridge, first the ICs in the cartridge were removed (except the lockout IC) and replaced with custom ROM chips. Some modifica...

Try NopSCADlib for your Next OpenSCAD Project

Most readers of this site are familiar by now with the OpenSCAD 3D modeling software, where you can write code to create 3D models. You may have even used OpenSCAD to output some STL files for your 3D printer. But for years now, [nophead] has been pushing OpenSCAD further than most, creating some complex utility and parts libraries to help with modeling, and a suite of Python scripts that generate printable STLs, laser-ready DXFs, bills of material, and human-readable assembly instructions complete with PNG imagery of exploded-view sub-assemblies. Recently [nophead] tidied all of this OpenSCAD infrastructure up and released it on GitHub as NopSCADlib . You can find out more by browsing through the example projects and README file in the repository, and by reading the announcement blog post on the HydraRaptor blog . Some functionality highlights include: a large parts library full of motors, buttons, smooth rod, et cetera many utility functions to help with chamfers, fillets, precis...

The Newbie’s Guide To JTAG

Do you even snarf? If not, it might be because you haven’t mastered the basics of JTAG and learned how to dump, or snarf, the firmware of an embedded device. This JTAG primer will get you up to snuff on snarfing, and help you build your reverse engineering skills. Whatever your motivation for diving into reverse engineering devices with microcontrollers, JTAG skills are a must, and [Sergio Prado]’s guide will get you going. He starts with a description and brief history of the Joint Test Action Group interface, from its humble beginnings as a PCB testing standard to the de facto standard for testing, debugging, and flashing firmware onto devices. He covers how to locate the JTAG pads – even when they’ve been purposely obfuscated – including the use of brute-force tools like the JTAGulator . Once you’ve got a connection, his tutorial helps you find the firmware in flash memory and snarf it up to a file for inspection, modification, or whatever else you have planned. We always apprec...