
LEGO celebrates Apollo 11 with a lovely, bricky Lunar Lander

The 50th anniversary of Apollo 11 and the first lunar landing is approaching, and there will be no shortage of fanfare — so why shouldn’t LEGO get in on the fun? This Lunar Lander set looks like a great way to celebrate the missions of the space program’s past, while the space station and launch sets celebrate its present and future.

The Apollo 11 set looks like a real treat for both space-loving kids and parents — and grandparents — who remember or otherwise venerate the historic missions. LEGO worked with NASA to put together a replica Eagle lander that’s a lot like the original, though slightly smaller, of course.

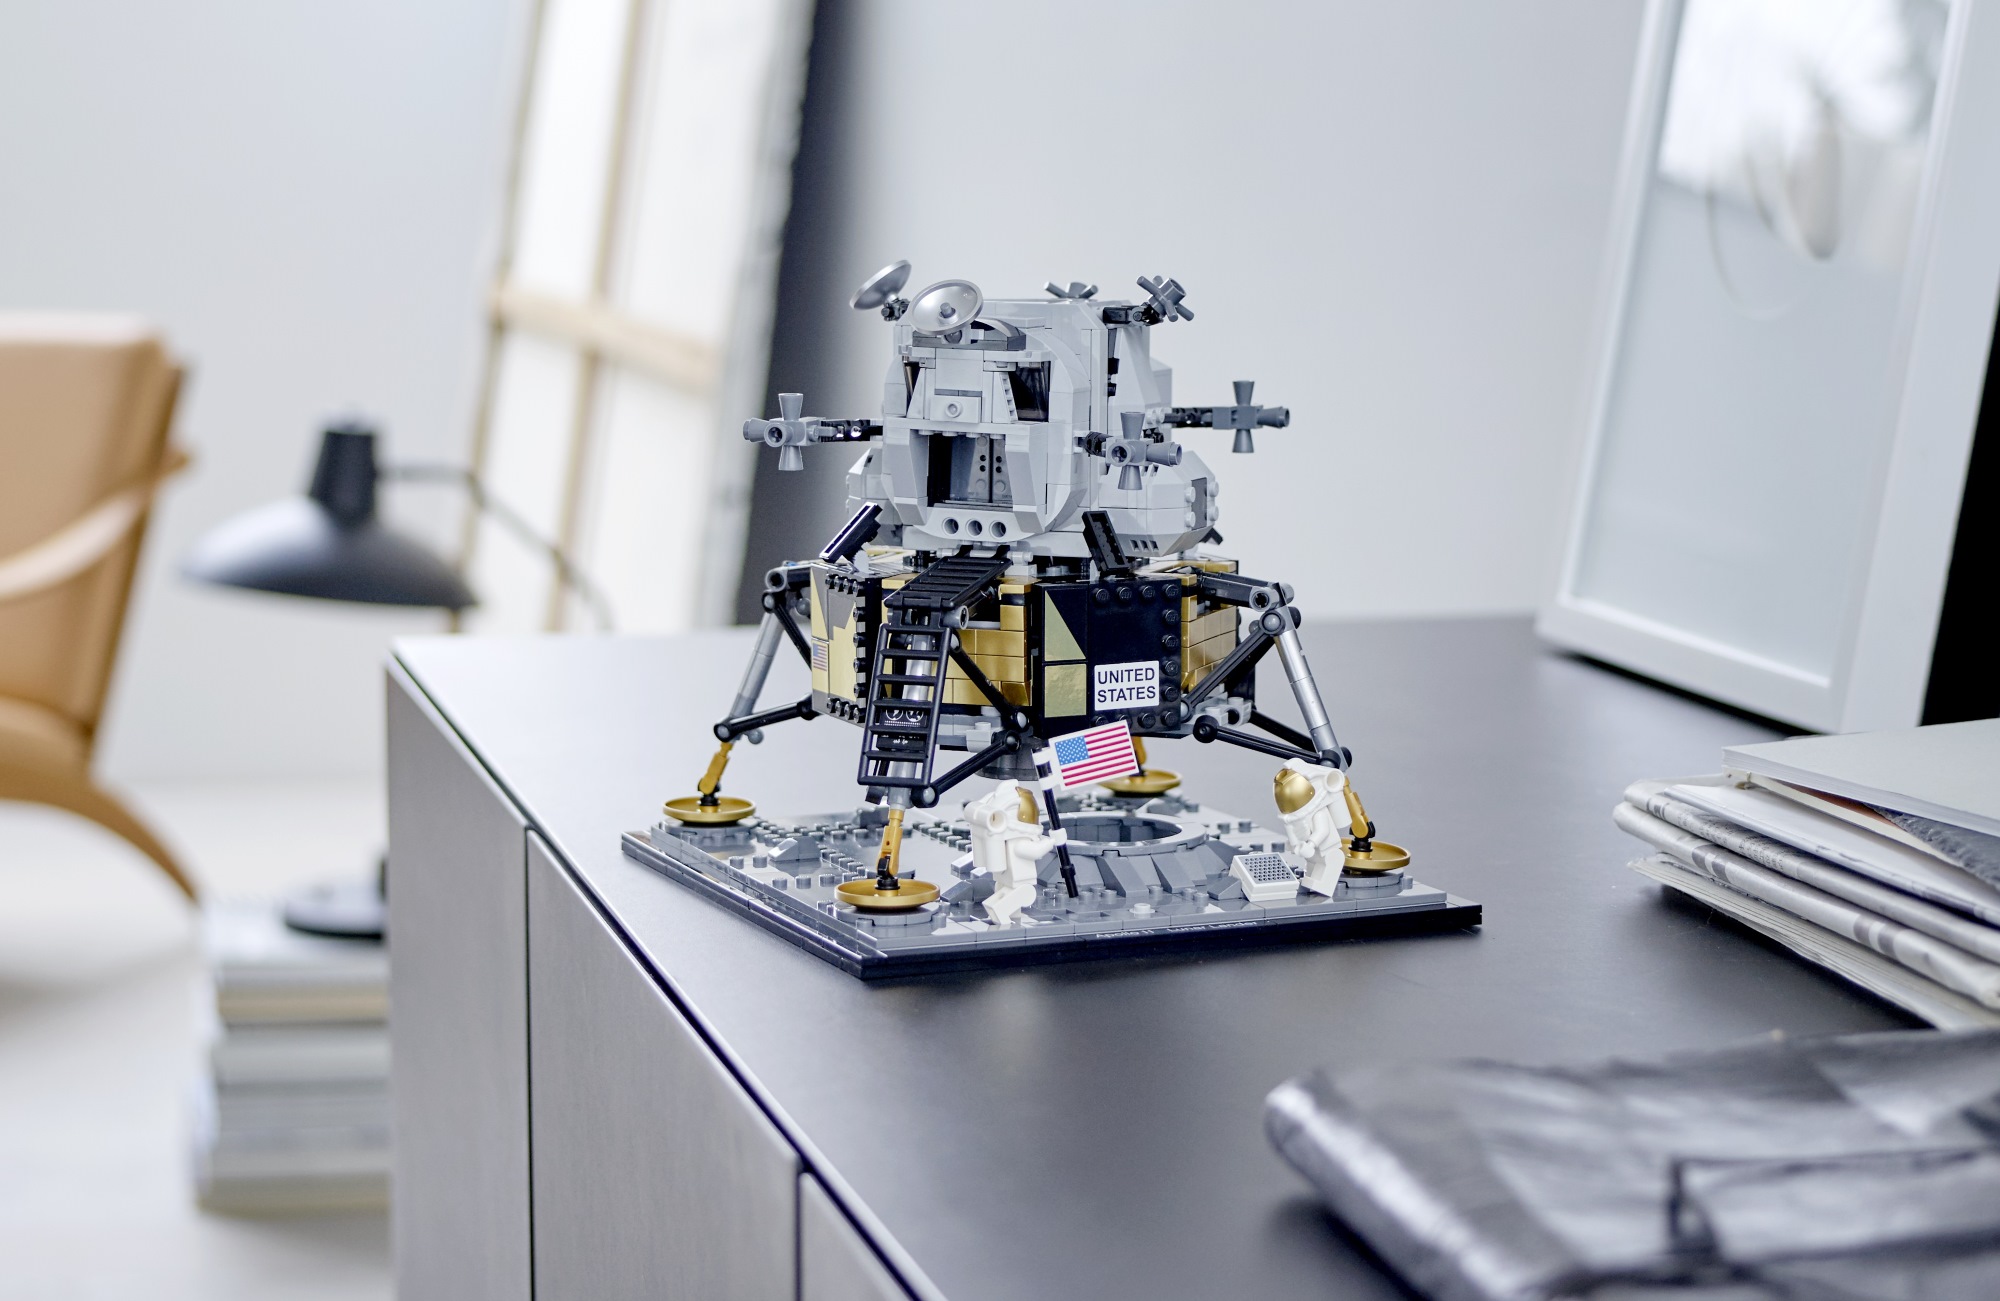
There are two astronauts, a crater, and a flag — just like the real landing. And the detailed ascender module actually detaches and fits two minifigs inside. And, inquiring LEGO enthusiasts will want to know, there are some cool new gold-colored bricks that will surely make for lovely additions to your other brick-based space projects.

Apollo is what we’re celebrating, but Artemis is what’s ahead of us. The next moon mission will involve quite a few interesting pieces of hardware, though nothing is finalized yet — so you can excuse LEGO for improvising a bit. (I feel sure the Shuttle design has been ruled out, though.)

[gallery ids="1834260,1834255,1834261,1834258"]

The launch control set looks great: an actual mission control area, an astronaut-delivery rail car, and a convincing rocket that could be the Space Launch System. There’s also a fairly realistic space station setup with segments you can connect in various ways and a cool airlock I would have loved to have when I was an avid builder.

I like that these aren’t huge — kids shouldn’t get the wrong idea about space travel. It’s like crawling into a hot can and being rolled down a hill, then you live in the can for months constantly smelling the other astronauts’ breath. At the end of it, you’re at Mars, sure — but it’s not exactly first class.

Making spaceships out of LEGO is a highlight of my childhood, and one in which I still indulge now and then, but I never felt particularly constrained by reality. I think it’s great that these sets provide that option — even if they’re fantasy, they’re definitely quasi-realistic and when kids see the Lunar Gateway in a few years they’ll think, huh, looks a lot like what I built a while back. So far that hasn’t happened with any of my ships.

Head over to the LEGO Shop to grab your own set.


from TechCrunch https://tcrn.ch/2wtMhbC

Comments

Popular posts from this blog

How To Play Doom – And More – On An NES

Doom was a breakthrough game for its time, and became so popular that now it’s essentially the “Banana For Scale” of hardware hacking. Doom has been ported to countless devices, most of which have enough processing ability to run the game natively. Recently, this lineup of Doom-compatible devices expanded to include the NES even though the system definitely doesn’t have enough capability to run it without special help. And if you want your own Doom NES cartridge, this video will show you how to build it . We featured the original build from [TheRasteri] a while back which goes into details about how it’s possible to run such a resource-intensive game on a comparatively weak system. You just have to enter the cheat code “RASPI”. After all the heavy lifting is done, it’s time to put it into a realistic-looking cartridge. To get everything to fit in the donor cartridge, first the ICs in the cartridge were removed (except the lockout IC) and replaced with custom ROM chips. Some modifica...

The Flexible Permanence of Copper Tape Circuits

Somewhere between shoving components into a breadboard temporarily and committing them to a piece of protoboard or a PCB lies the copper tape method. This flexible Manhattan-style method of circuitry formed the basis for [Bunnie Huang]’s Chibitronics startup, and has since inspired many to stop etching boards and start fetching hoards of copper tape. [Hales] hit the ground running when he learned about this method , and has made many a copper tape circuit in the last year or so. He offers several nice tips on his site that speak from experience with this method, and he’ll even show you how to easily work an SMD breakout board into the mix. Generally speaking, [Hales] prefers plywood as the substrate to paper or cardboard for durability. He starts by drawing out the circuit and planning where all the tape traces will go and how wide they need to be. Then he lays out copper traces and pads, rubs the tape against the substrate to make it adhere strongly, and reinforces joints and laps w...

The Newbie’s Guide To JTAG

Do you even snarf? If not, it might be because you haven’t mastered the basics of JTAG and learned how to dump, or snarf, the firmware of an embedded device. This JTAG primer will get you up to snuff on snarfing, and help you build your reverse engineering skills. Whatever your motivation for diving into reverse engineering devices with microcontrollers, JTAG skills are a must, and [Sergio Prado]’s guide will get you going. He starts with a description and brief history of the Joint Test Action Group interface, from its humble beginnings as a PCB testing standard to the de facto standard for testing, debugging, and flashing firmware onto devices. He covers how to locate the JTAG pads – even when they’ve been purposely obfuscated – including the use of brute-force tools like the JTAGulator . Once you’ve got a connection, his tutorial helps you find the firmware in flash memory and snarf it up to a file for inspection, modification, or whatever else you have planned. We always apprec...