Foil-lined foam insulation board, scraps of lumber, and a paint-thinner can hardly sound like the tools of a radio astronomer. But when coupled with an SDR, a couple of amplifiers, and a fair amount of trial-and-error tweaking, it’s possible to build your own hydrogen-line radio telescope and use it to image the galaxy.
As the wonderfully named [ArtichokeHeartAttack] explains in the remarkably thorough project documentation, the characteristic 1420.4-MHz signal emitted when the spins of a hydrogen atom’s proton and electron flip relative to each other is a vital tool for exploring the universe. It lets you see not only where the hydrogen is, but which way it’s moving if you analyze the Doppler shift of the signal.
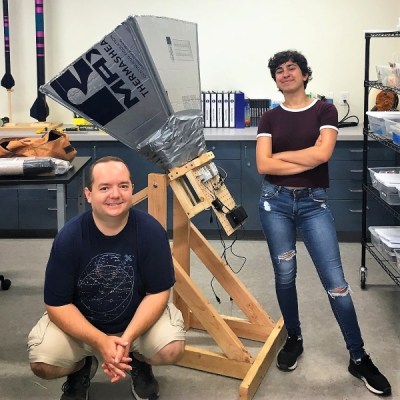 But to do any of this, you need a receiver, and that starts with a horn antenna to collect the weak signal. In collaboration with a former student, high school teacher [ArtichokeHeartAttack] built a pyramidal horn antenna of insulation board and foil tape. This collects RF signals and directs them to the waveguide, built from a rectangular paint thinner can with a quarter-wavelength stub antenna protruding into it. The signal from the antenna is then piped into an inexpensive low-noise amplifier (LNA) specifically designed for the hydrogen line, some preamps, a bandpass filter, and finally into an AirSpy SDR. GNURadio was used to build the spectrometer needed to determine the galactic rotation curve, or the speed of rotation of the Milky Way galaxy relative to distance from its center.
We’ve seen other budget H-line SDR receiver builds before, but this one sets itself apart by the quality of the documentation alone, not to mention the infectious spirit that it captures. Here’s hoping that it finds its way into a STEM lesson plan and shows some students what’s possible on a limited budget.
from Hackaday https://ift.tt/2nFxFob
Comments
Post a Comment